Creating lightning bolt in the gimp
creating a lighting Bolt in the Gimp
introduction
This time, we Will learn the procedure for creating a lighting Bolt sprite from the Gimp. Lighting bolts find god use in 3d game sfx, like zapping an item or enemy from an electric weapon, denoting tensión in sci-fi escenarios, or just a natural lighting Bolt todo enhance the environmental mod.
level : novato todo intermediate.
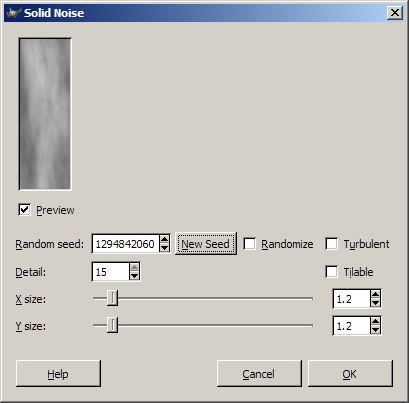
step1. launch the Gimp and create a new 256x768 image. Go todo filters>>render>>solid noise. In the pop-up, enter the values as shown in figure1 or, choose one of your own by hitting new sed button. Finally, press the ok button todo render the noise.
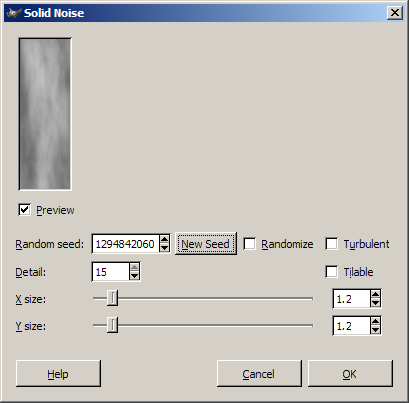
Image 1 solid noise pop-up.
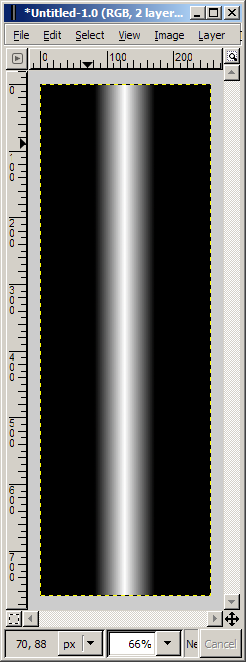
step2. create a new layer over the current layer. Go todo the tool box and select the gradiente tool and in the tool options, select the shape of the gradiente as bi-linear and enable adaptive-supersampling. Create a new layer over the noise layer and draw a small gradiente over the new layer (se figure3). One thing todo remember here is that you should try todo draw the gradiente over the part of the solid noise which contains mostly white and its surrounding áreas are darker. That is where you get god contrast.

Image 2 gradient settings.
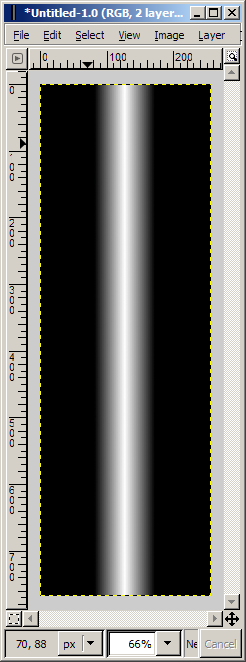
Image 3 drawn gradient.
step3. go todo the layers dialog box and change the layer-mode of the gradiente layer todo diference. Immediately, you can se the formation of the volt. Now go todo image>>Flatten image todo Flatten all the layers into one single layer. Now go todo layer>>color>>invert todo invert the color of the layer.
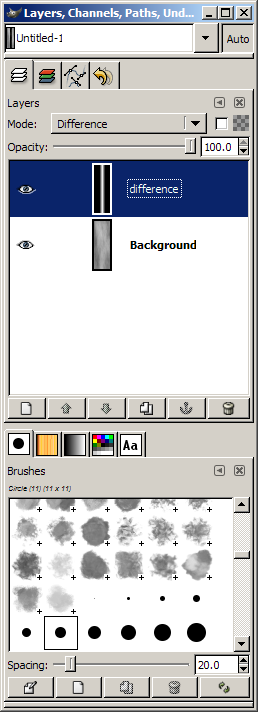
Image 4 layers dialog.
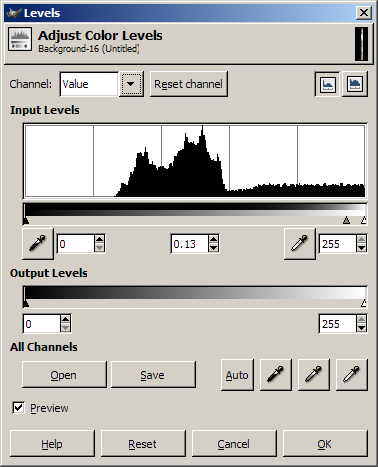
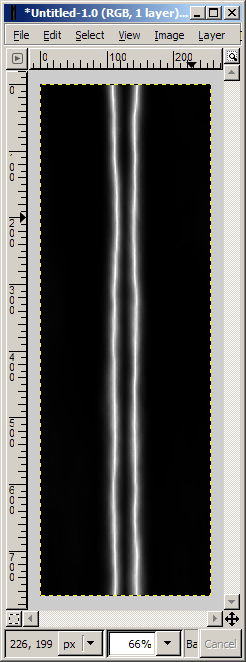
step4. what you get is a streaque of two lighting bolts, but these bolts are hardly usable as they are virtually glued together. Go todo layer>>color>>levels. This Will bring up the level adjust dialog box. Drag the input levels Mid-pointer towards the right. While you do this, you can a los se the formation of two clear lighting bolts. Adjust the amount of sharpness you want then, press ok.
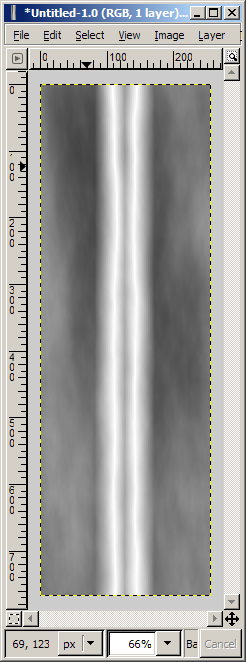
Image 5 lighting bolts.
step5. todo sepárate the lighting bolts as an Alpha Channel, you Will ned todo convert the black color todo alpha. To do that, go todo layers>>transparency>>color todo alpha. In the color todo alpha dialog, click the from button and choose a black color then press ok. You now have an alpha-based versión of the lighting volt. The last thing todo do is save it in a file format that supports transparency, like (*.png) or tga.
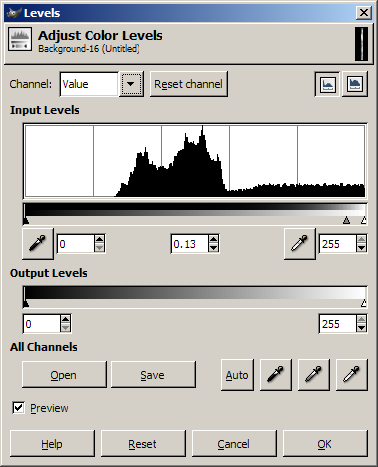
Image 6 level adjustment.
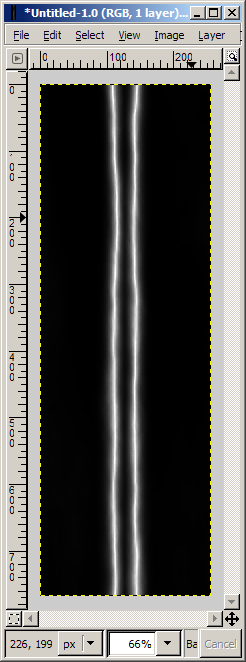
Image 7 rendered lighting bolts.
conclusion
Although this method only generates pretty straight lighting bolts, you can compliment it with the noise generation plugins for the Gimp called plasma2 etc. This Will allow you todo have random noise generation which can result in more varied lighting bolts. I hope this has provided you with a nice and easy bien todo create lighting bolts.
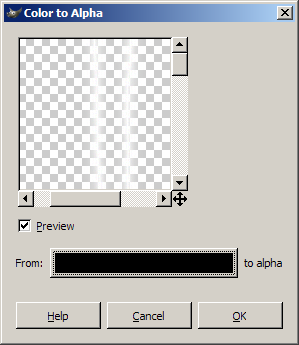
Image 8 lighting bolts with Alpha Channel. www.blenderart.org.
-- IMÁGENES ADJUNTAS --




Última edición por 3dpoder; 05-06-2009 a las 11:45
|Agradecer cuando alguien te ayuda es de ser agradecido|


 Citar
Citar