Modeling a low poly space ship
modeling a Low poly space ship
By Robert Foster.
Level: begginer todo intermediate.
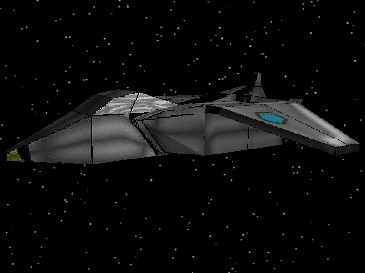
step 1: beginning .
When we first open Blender, there is a default Cube in object mode, pressing the (tab) key takes you into Edit Mode.
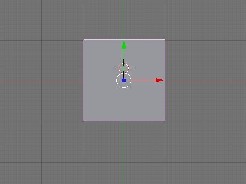
By holding the (mmb) + (shift) keys you rotate the 3d window around, now hold (Control + tab) todo select mode, choose Faces. Now with the (a) key de-select all the Faces.
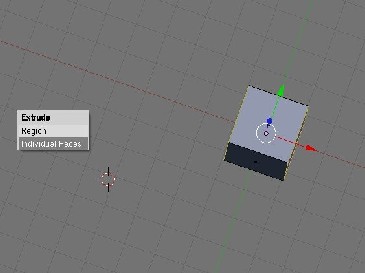
Then select two of the Faces on each side as so, chosing the individual Faces and press (e) extrude them and press the (a) key todo de-select. Next we select the front of the Cube, then you are going todo extrude it two times.
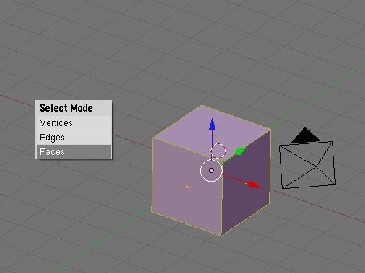
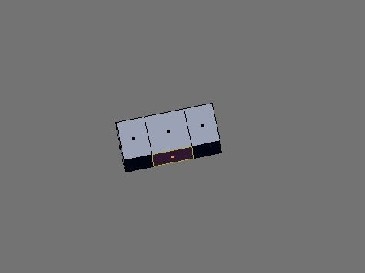
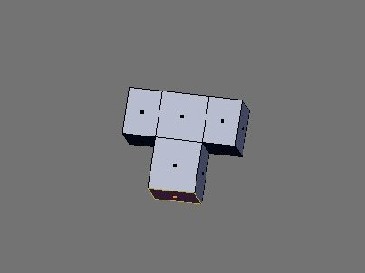
step 2: creating the no sé
Next we go todo the side view and go todo the end of the no sé, press the (b) key todo select the front of the no sé and scale it down by pressing the (s) key.
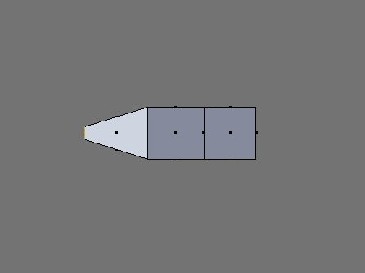
step 3: adjustment todo bak of the ship
Now go todo the top view and select the bak vértices, todo select them you Will press the (b) key in wire fame (press (z) key) and select all 4 vértices in bak of the ship and extrude them twice.
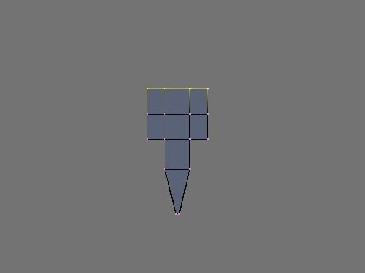
step 4: creating the Cockpit & refining
Next youll create a Cockpit on the ship following these steps:
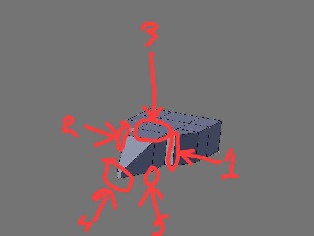
o 1&2) youll go todo each side and select the vértices and move them inward.
o selecting the Faces mode, select the Faces on top, (select one then hold the (shift) key and right click the next one) and press the (e) todo extrude.
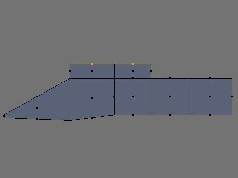
o adjust the vértices on the front of the no sé and scale it inward a Little bit.
o select the bottom of the no sé and move it downward.
step 5: refining Cockpit & creating the Wing
Tip: todo verify that you have the correct number of vértices selected (which is four vértices: two in the front & two in the back) chek the vértices selected readout at the bottom of the selection roll out.
Move the selected vértices down along the z-axis using the transform gizmo press the (n) key press (a) todo de-select.
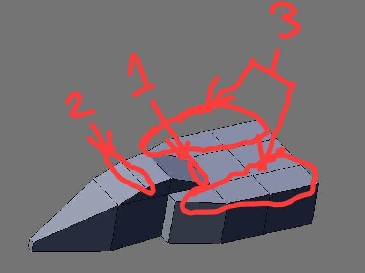
To fix the Cockpit move the front vértices bak a Little bit on the y-axis and move up on the z-axis a Little bit. Lets create the Wing:
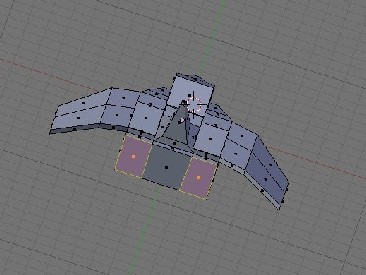
Go todo select mode and choose Faces, right-clik and hold the (shift) key, select six Faces on each side of the ship and extrude them half bien along the z-axis as shown in the illustration.
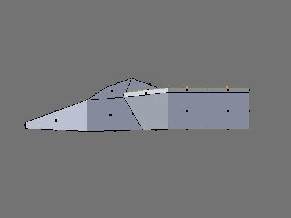
Change todo vertex mode, in vertex mode go todo the far side of the object and press the (b) key, move the vértices slightly toward the bak of the spaceship using x-axis. Dont forget go todo the side view and adjust there also.
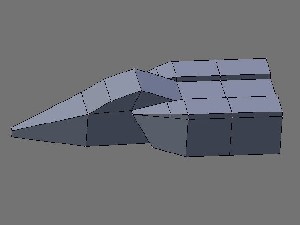
Adding the Wings: now we select four Faces on each side as shown in the illustration.
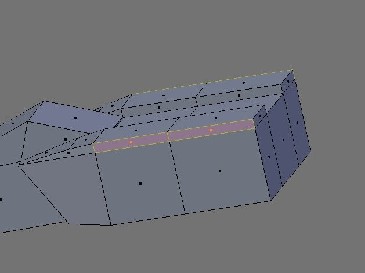
Pressing the (e) key you are going todo choose individual Faces and extrude them twice as shown in the illustration.
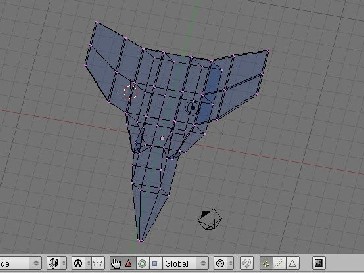
Tip: using scale and axis tool select the four ends and scale and do same as the other side. Next we use the z-axis, select the end of both of the Wings by pressing the (b) key and move them downward as shown in both illustration.
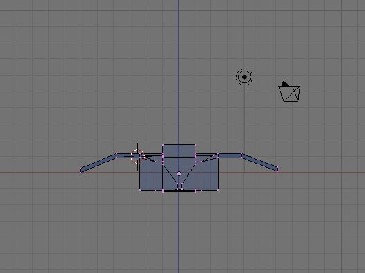
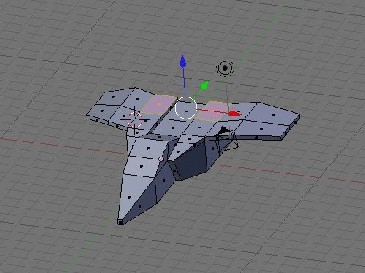
step 6: creating the bak and front vents
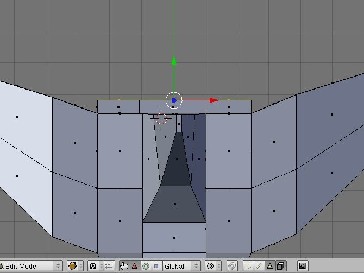
Hold (Control) +(tab) choose select mode > Faces. To create the vents, select the two Faces on either side of the center at the back. Extrude them as shown in the illustration.

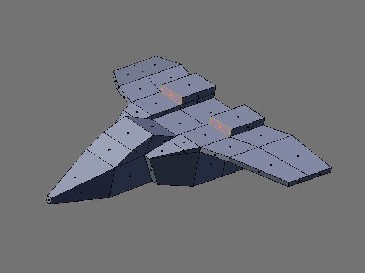
Go todo the side view and press (z), go bak todo vértices select the vértices at the bak top corners and move them down.
Choose select mode >Faces and select the front of the vents, extrude and scale and extrude again this time along the z-axis and scale it. And for the front vents select Faces extrude and scale it again.
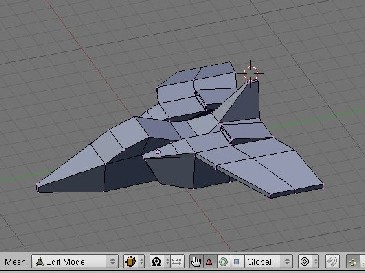
Step 7: add more vents next we go todo Face Mode and select the Faces between the two rear vents. Extrude, press the (n) set the z-axis height todo 5.0 and scale inward and extrude again change the height of the z-axis todo 23.0.
Next go todo vertex mode, box select a selection región around the vértices at the top front part of the rudder. In side view, move the vértices bak in the x-axis todo form part of the rudder. Using the axis tool, select scale the top Edge of the rudder along the xaxis todo 30%.
step 8: creating the engines
Tip: hold (Control + tab) and select mode >choose Faces and select the thre Faces on the bak of the ship and extrude them next.
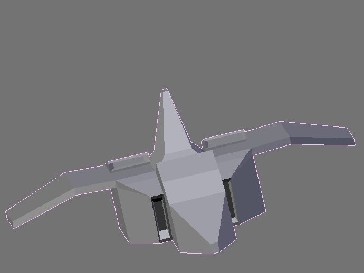
Tip: we go todo select two of them on either side and extrude and scale it in it just right (se images below)and make adjustment todo the bottom of the ship.

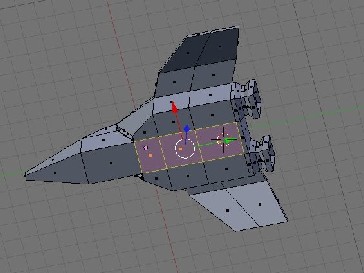
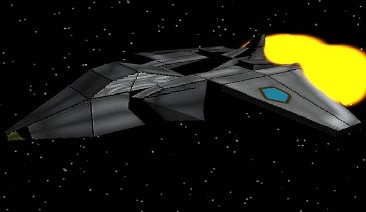
Final render.


Robert Foster, y was born in Philadelphia. When i was a Little boy i used todo draw really well and dance. When i became a tenager, my drawing got better and i was introduced todo mus IC. After i became an adult, y got my first computer and was introduced todo software animation. My firs te 3d animation software was 3d Studio Max and now it is Blender.
www.blenderart.org.
.
|Agradecer cuando alguien te ayuda es de ser agradecido|


 Citar
Citar