

 Modeling and rigging a frog
modeling and rigging a frog
By Erik Ramirez.
introduction. This tutorial Will show you how todo construct geometry reference knots for building an animal like a frog, and show the problems that i had todo face.
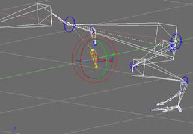
Setting knots (rig creation).
In front view add>>armature todo create the first enlace. Go todo right view and modify as above and extrude 4 times todo create the nek Bones and the head. Try todo create similar proportions.
Select the second enlace and [shift+d key] todo duplicate the enlace and move it todo the right side. In front view move it todo the right side todo create a leg.
Create the leg Limb by extruding this bone as above.
Create the fingers by duplicating finger links.
Create the shoulder Blade using the same procedure, but now move over the Blade área, duplicate the bone todo create a clavicle and relocate in todo its respective área. Name them blade_l and clavicle_l respectively Fuse the clavicle with the Blade.
Select the Bones shown above and press [shift+d key] todo duplicate the Bones. Move them forward.
Align the new Bones with the clavicle. Select the arm bone and on the armature Bones panel change the parent and select clavicle_l, then press the connect button todo connect it todo the clavicle.
Go todo postura mode and press todo move the Bones todo another bone layer. Bak todo Edit Mode [tab key] and on the armature panel [f select the next layer where you moved the Bones.
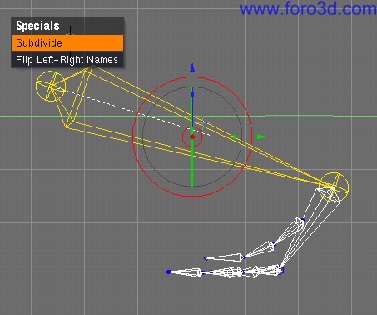
Select this bone and press e key todo open the specials dialog box and select subdivide.
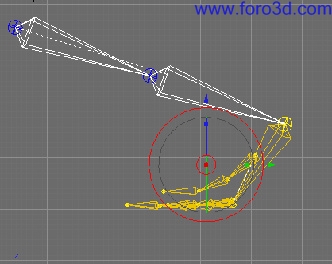
Now select the frog hand shown above and move it forward.
Move the fingers a Little todo adjust them.
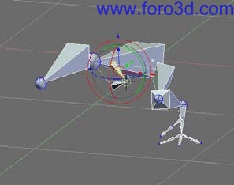
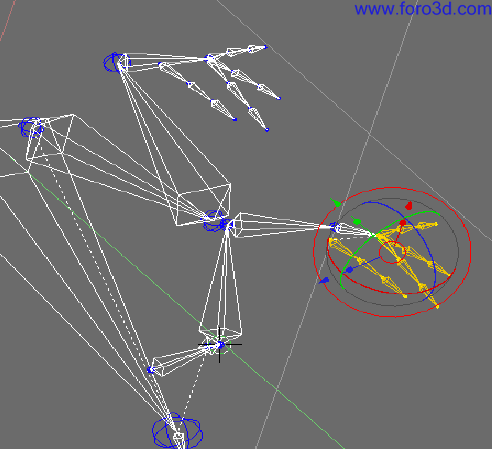
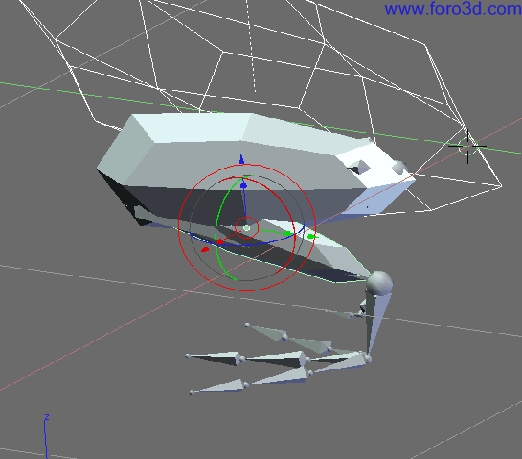
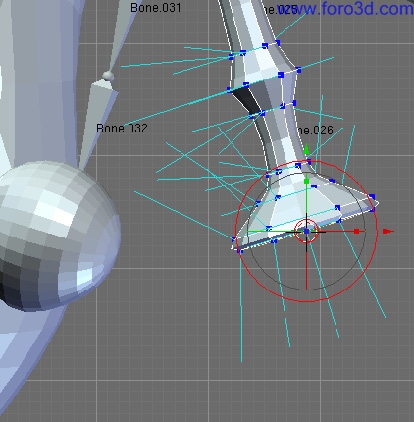
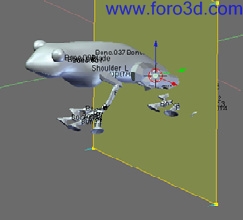
Create a Cube and select the Subsurf modifier for it and move it todo the frog fémur. Select pivot bounding box center and move the vértices todo get a primitive shape for wrapping the fémur bone. Duplicate the Cube todo Wrap the bottom leg.
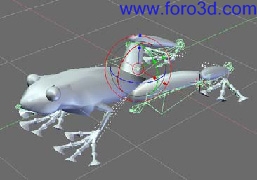
Go todo postura mode for the armature and parent the cubes todo their respective Bones. How? Select objects in this order: select the fémur box and [shift] select fémur bone (pose mode) and [Control +p key] a dialog box displays and select parent todo bone. Then select bottom leg box and [shift] select bottom leg bone and parent. You can se the result in the frog, blend.
Reverse enginering.
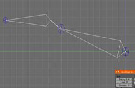
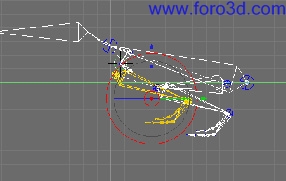
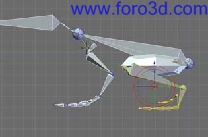
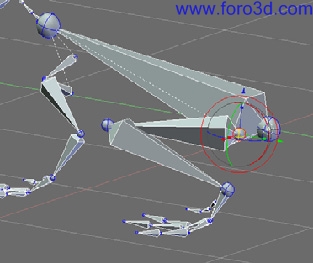
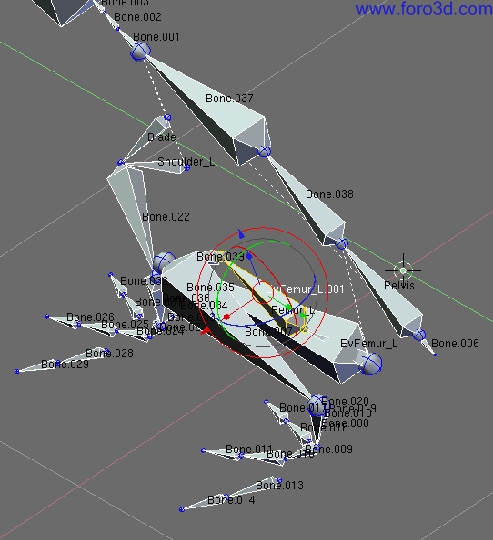
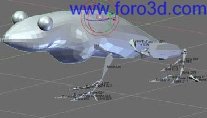
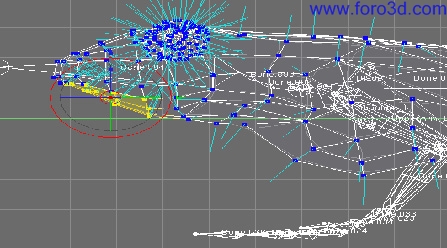
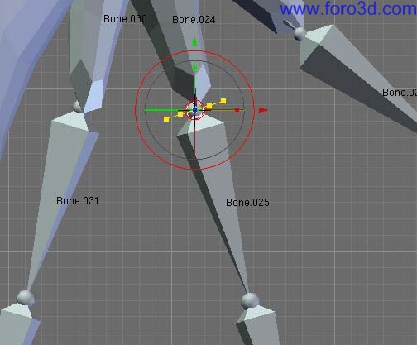
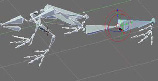
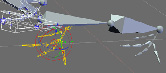
At this momento the knots sem fine, but a frog living style is frenetic because in evolution the frogs are intermediate between water and Ground, then theyre excessively dynamic. Hunters and hunted. Their means of defence are their rear limbs as springs always ready todo ACT in danger situations. As the figure shows above, the bak legs dont have enough of a power Spring form, the pelvis is quite high, so we must adjust this característica.
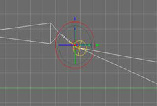
Note that as you move the bone pivot positions the boxes adapt todo new forms.
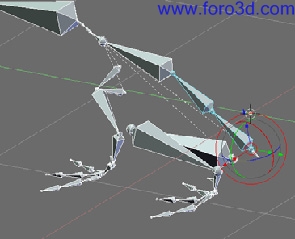
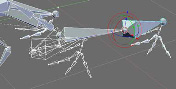
Move the Bones Low enough that the pelvis almost touches the Ground for a full crouch.
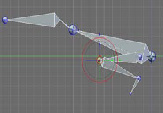
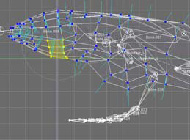
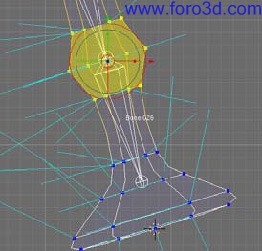
Subdivide the bone shown and adjust it todo get a curved Spine. This Spine actually acts like Spring to, similar todo cats when they want todo Jump high.
The knes perhaps have todo be a Little high like hoping insects, but these legs are not only for jumping. The form of the boxes doesnt matter now.
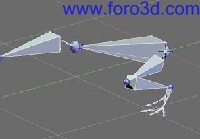
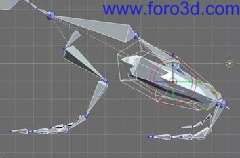
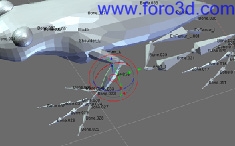
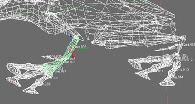
The legs have a Little problem because they overlap themselves, the octahedron form helps todo se this problem acting as primitive form. The fémur and bottom leg are todo tight. In top view try todo move the kne over a Little. I tried todo resolve this problem by creating the bone curvature for the fémur and bottom leg. The resulting new Bones helped me todo improve the box forms.
The head sems todo be a Little big, so let adjust that.
Modeling the frog.
Continue the last session or open.
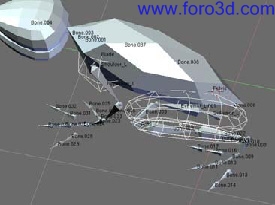
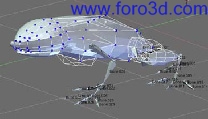
Frog1.blend create boxes for other parts of the frog. In top view create a Cube and rotate it 45 Degrees and adjust the vértices todo create the body, add a Subsurf modifier todo it. Remember todo set pivot bounding box center todo scale Faces and manipulate vertex groups. To get the head, create a Cube with a Subsurf modifier with levels set todo 2 todo get the head shape shown above.
When the head form is ok, apply the Subsurf modifier todo get this form. Apply the Subsurf modifier for the body when you are done. You can se the result in frog2.blend.
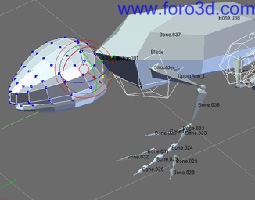
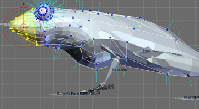
Join both meshes, deleete some vértices, and then create a bridge todo join them into one single Mesh. Adjust as neded and attach other shapes like a box for the chest, adjust the head if it is todo big. You can se the result in frog3.blend.
Adjust for frog head as neded and for smoother results try proporcional edit.
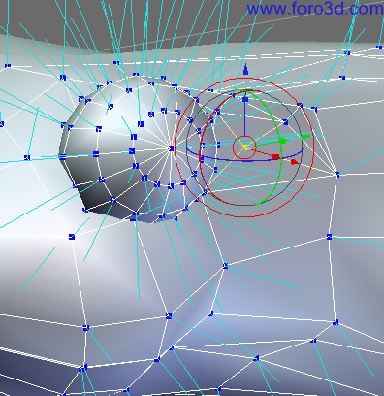
Add a UV sphere todo main Mesh, then add a Subsurf modifier. Add some adjustments todo the head, that is about half body length.
Add a mouth splitting the Mesh and merging some vértices.
Hide the eye sub Mesh (h key), and make some adjustments over the ear section (frogs dont have ears, but holes where they can hear).
Add some vértices over the ear área todo create a depression.
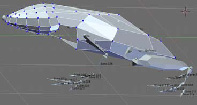
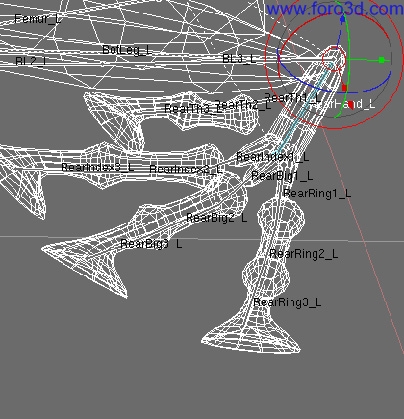
Adding more features finish the model by wrapping more subsurfed boxes todo the Bones that are left.
Apply a Subsurf modifier todo this Mesh and adjust it todo get 3 Faces, extrude them todo form the base of the fingers.
Now todo create the fingers, go todo front view [1 numeric pad] and [space bar] add>>Mesh>>circle>>6 vértice circle todo get a hexágono shape. Add a Subsurf modifier todo it and scale it a bit todo get a finger cross section.
Relocate this shape by positioning the cursor ([shift+s key] cursor>>selection) over the pivot shown above. Select the circle we created and in object mode [shift+s key] selection>>cursor todo Snap the circle over finger.
With the pivot options set todo bounding box center go todo top view and extrude the hexágono forward todo create a frog finger, for the knots extrude, position and scale a Little, then you must get bak todo the original width and finally create a umbrella shape. To close the umbrella, with the latter vértices still selected, [shift+ cursor>>selection and press e key, then Esc key and w key>> merge>> at cursor or at center or collapse. To get the rear knot you can duplic ate this knot and merge some vértices.
Make the neded adjustments todo get this shape for the finger. The tip may be a suction device todo stick on Walls or something like that. You can se the result in frog4.blend.
Make several copies of this finger and adapt them todo create others.
Make a similar Mesh for the rear hand. Actually the frogs have diferent rear hands that serve as flippers, umbrellas, so in this case i preferred todo make my frog reflect that fact, perhaps it is a Mutant frog that lives in a bathrom hanging over the Walls and ceilings like Spiderman. Still, attach each finger todo the next Mesh todo get a single Mesh.
Mirroring limbs.
Now, in front view create a plane Mesh at the center. Join each box Limb one by one with the plane, select any box and select the plane (object mode) and [contro l+j key] todo join the meshes, select a plane Mesh vertex and press l key todo select linked vertexes, press p todo sepárate. Next, the next Mesh todo plane Mesh, until complete for all meshes except the body Mesh.
This procedure is for moving the center Mesh (actually the Mesh pivot in object mode) todo the center. You can achieve this by [space bar]>>transform>>center cursor, and [Control +a key]>>apply scale and rotation, but in the next step we going todo mirror these features and we ned assure that all meshes have similar relative UCS (universal cordinate system).
So when you are done, you can add a mirror modifier todo each Mesh todo get the symmetric part. Select the arm Mesh and detach some of the palm Mesh in the forehand área. Do the same for the rear hand. You can se the result in frog5.blend and frog6.blend. In the frog6.blend i started todo give names todo the Bones.
Advance editing.
Open frog7.blend. This file contains the entire armature of the frog. If you take a look you can se why the mirrored bone objects have mirrored editing and how this setting can help a lot in avoiding and correcting errors.
Now, start todo apply a mirror modifier todo each Limb Mesh and when the mirrors have ben applied, select each Mesh again and detach each linked Mesh. You can se the result in frog8.blend.
Oops. It sems that the rear hand is actually -the ankle? -if you did all the exercises, select rear hand bone and in Edit Mode w key todo subdivide. Now we have an ankle and a rear hand. Finish by parenting the meshes with their respective Bones. You can se the result in frog9.blend.
Changing pose.
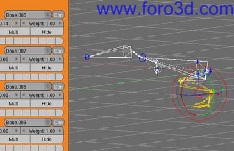
Go todo object mode for the armature and duplicate it. Move the duplicate todo another layer. Select the original armature and on draw panel [f select wire option.
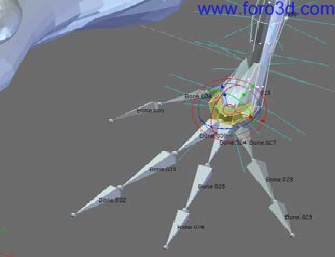
Go and select the duplicated armature and enter postura mode. Rotate the fémur in top view and rotate the bottom leg todo get this pose. Save your file with another number or name.
[shift] select the layer where original armature is.
Go todo Edit Mode and select the following Bones and move them todo where the duplicated Bones are. Select the duplicate armature and in postura mode select the bottom leg and [shift+s key]>>cursor>>selection todo locate the cursor over kne.
Select the original armature and select the kne pivot in Edit Mode and [shift+s key]>>selection cursor. The legs Will occupy the new position, go todo object mode and un-hide the other layers todo se the meshes updated.
You can se the result in frog10.blend.
When you are happy with the actual pose, you can start todo join all the meshes as you wish. You can add extra limbs or more heads todo get our era touch. Sometimes i ned extra arms todo. But, being serious, this model has potential todo create other living forms and geometry referencias by evolving into new structures. A weird method perhaps todo create simple geometry but, rather easy?
This model is not finished but it has enough información for you todo experiment and improve on your own.
www.blenderart.org.
×
 Lo primero
+ Preguntar sobre
Lo primero
+ Preguntar sobre
Configuración
Mi perfil
Contacto
Mail al administrador
- Animación y Rigging
- Errores de programa
- Hardware
- Iluminación
- Impresoras 3D
- Modelado
- Partículas y Dinámicas
- Plugins
- Postproducción
- Render y Cámaras
- Script
- Texturas y Materiales
- Videojuegos
Configuración
Mi perfil
Contacto
Mail al administrador


 Citar
Citar