

 Making a low poly character from a high poly model
Making a Low poly character from a High Poly model. By ititrx.
Introduction.
This is a short tutorial explaining a technique todo model a Low poly Game Engine character over a High Poly model. There are Many techniques todo accomplish this (box modeling, combing shapes, etc) so this is just one of them. Pléase use your favourite modeling techniques while following along. Level: begginer todo intermediate.
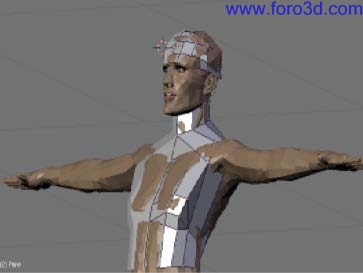
Open Blender and deleete the default Camera and Cube. Select layer 2 and import a High Poly model of your choice. Divide your screen into thre views, two 3d views on the top and the buttons view on the bottom. Chose one 3d view for the front view and one for the side view.
Select layer 1 and layer 2. You Will make your model on layer 1 over the model on layer 2. You can make your planes as large as you care to, and as close todo the model on layer 2 as you choose. When you want todo chek your model, just click layer 1. Another option would be todo just leave the the model on layer one and hide/unhide it for use.
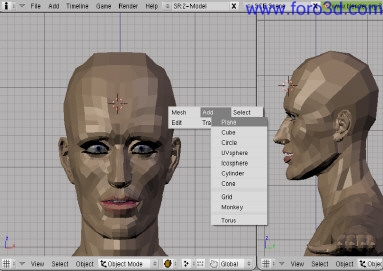
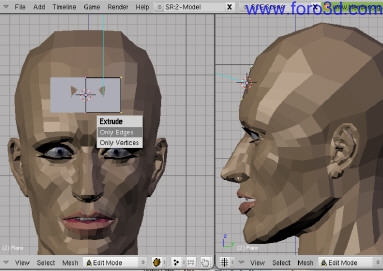
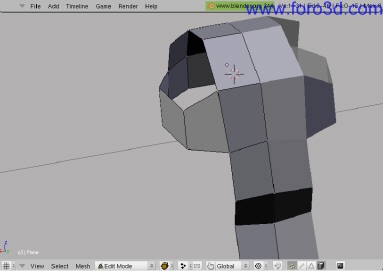
Step1: now place the 3d cursor on the forehead in the front view and chek alignment in the side view as illustrated in fig 1. From front view, Insert a plane.
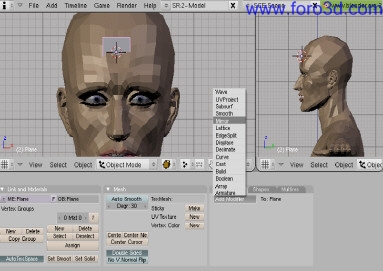
Step2: with the plane still selected and in Edit Mode, add a mirror modifier, as in fig 2, todo simplify the modeling task.
Step3: now Grab the plane and move it todo the right on the x axis as in fig3.
Step4: from the side view, rotate the plane on the x axis todo match the angle of the model, fig.4.
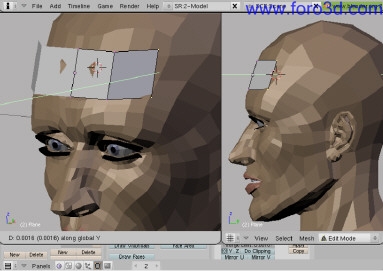
Step5: select the right Edge of the plane and extrude it on the x axis, fig.5.
Step6: with the right Edge still selected, Grab on the y axis and pull it into the Edge of the model on layer 2, fig 6. Se how the bottom vertex tips into the model below?
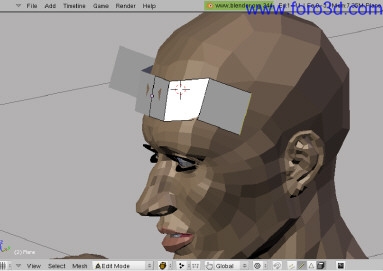
Step7: extrude that same Edge again on the x axis, and then move the Edge in towards the model, fig. 7.
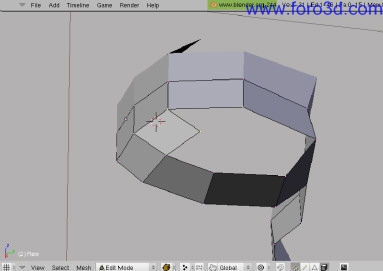
Step8: fig. 8 shows the results of extruding the two top Edges of the two front Faces up and toward the bak until the planes touch the model underneath.
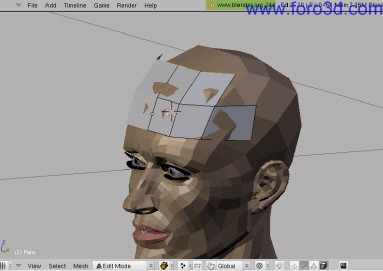
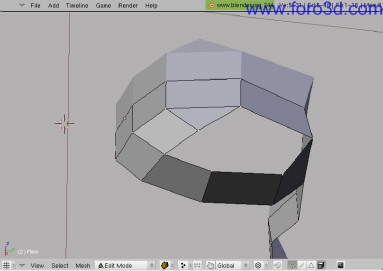
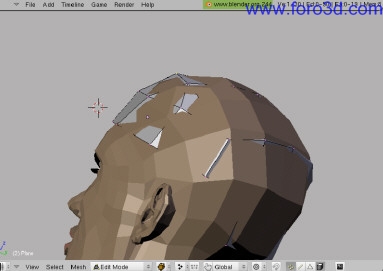
Step9: continúe in this manner, covering the model head on layer 2, fig 9.
Step10: fig. 10 and fig.11 Illustrate the selection of layer 1 only todo modify the existing planes. Two points were selected and merged into one.
Step11: fig. 12 and fig. 13 Illustrate face creation from the selected vértices todo cover/close the Gap between the Faces.
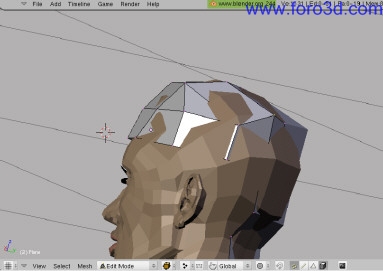
Step12: selecting layer 1 and 2 again, you can se there are some ugly point where the vértices stand out todo far from the model, fig. 14.
Step13: with some vertex tweak, the horns are removed, fig.15.
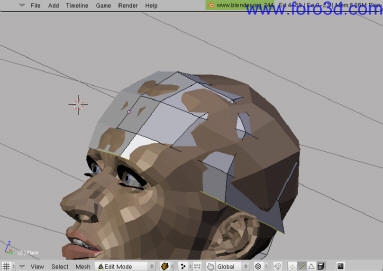
Step14: in fig. 16 the lower Edges of the bottom Faces were extruded.
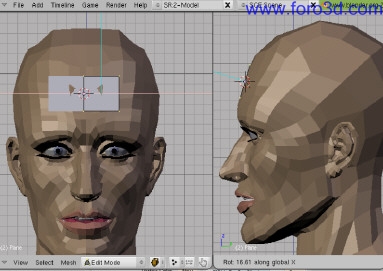
Continue in this manner todo cover the whole model. Maquíng changes where necessary todo Cut the polys down. With practice you may be able todo get your Low poly model done in about 30 minutes. If you have problems with points on your model, you may ned todo subdivide some planes todo help Smooth them out.
By ititrx. www.blenderart.org.
.
×
 Lo primero
+ Preguntar sobre
Lo primero
+ Preguntar sobre
Configuración
Mi perfil
Contacto
Mail al administrador
- Animación y Rigging
- Errores de programa
- Hardware
- Iluminación
- Impresoras 3D
- Modelado
- Partículas y Dinámicas
- Plugins
- Postproducción
- Render y Cámaras
- Script
- Texturas y Materiales
- Videojuegos
Configuración
Mi perfil
Contacto
Mail al administrador


 Citar
Citar